Showing posts with label hair. Show all posts

Sunday, May 19, 2013

Hibiscus in Henna for your Hair

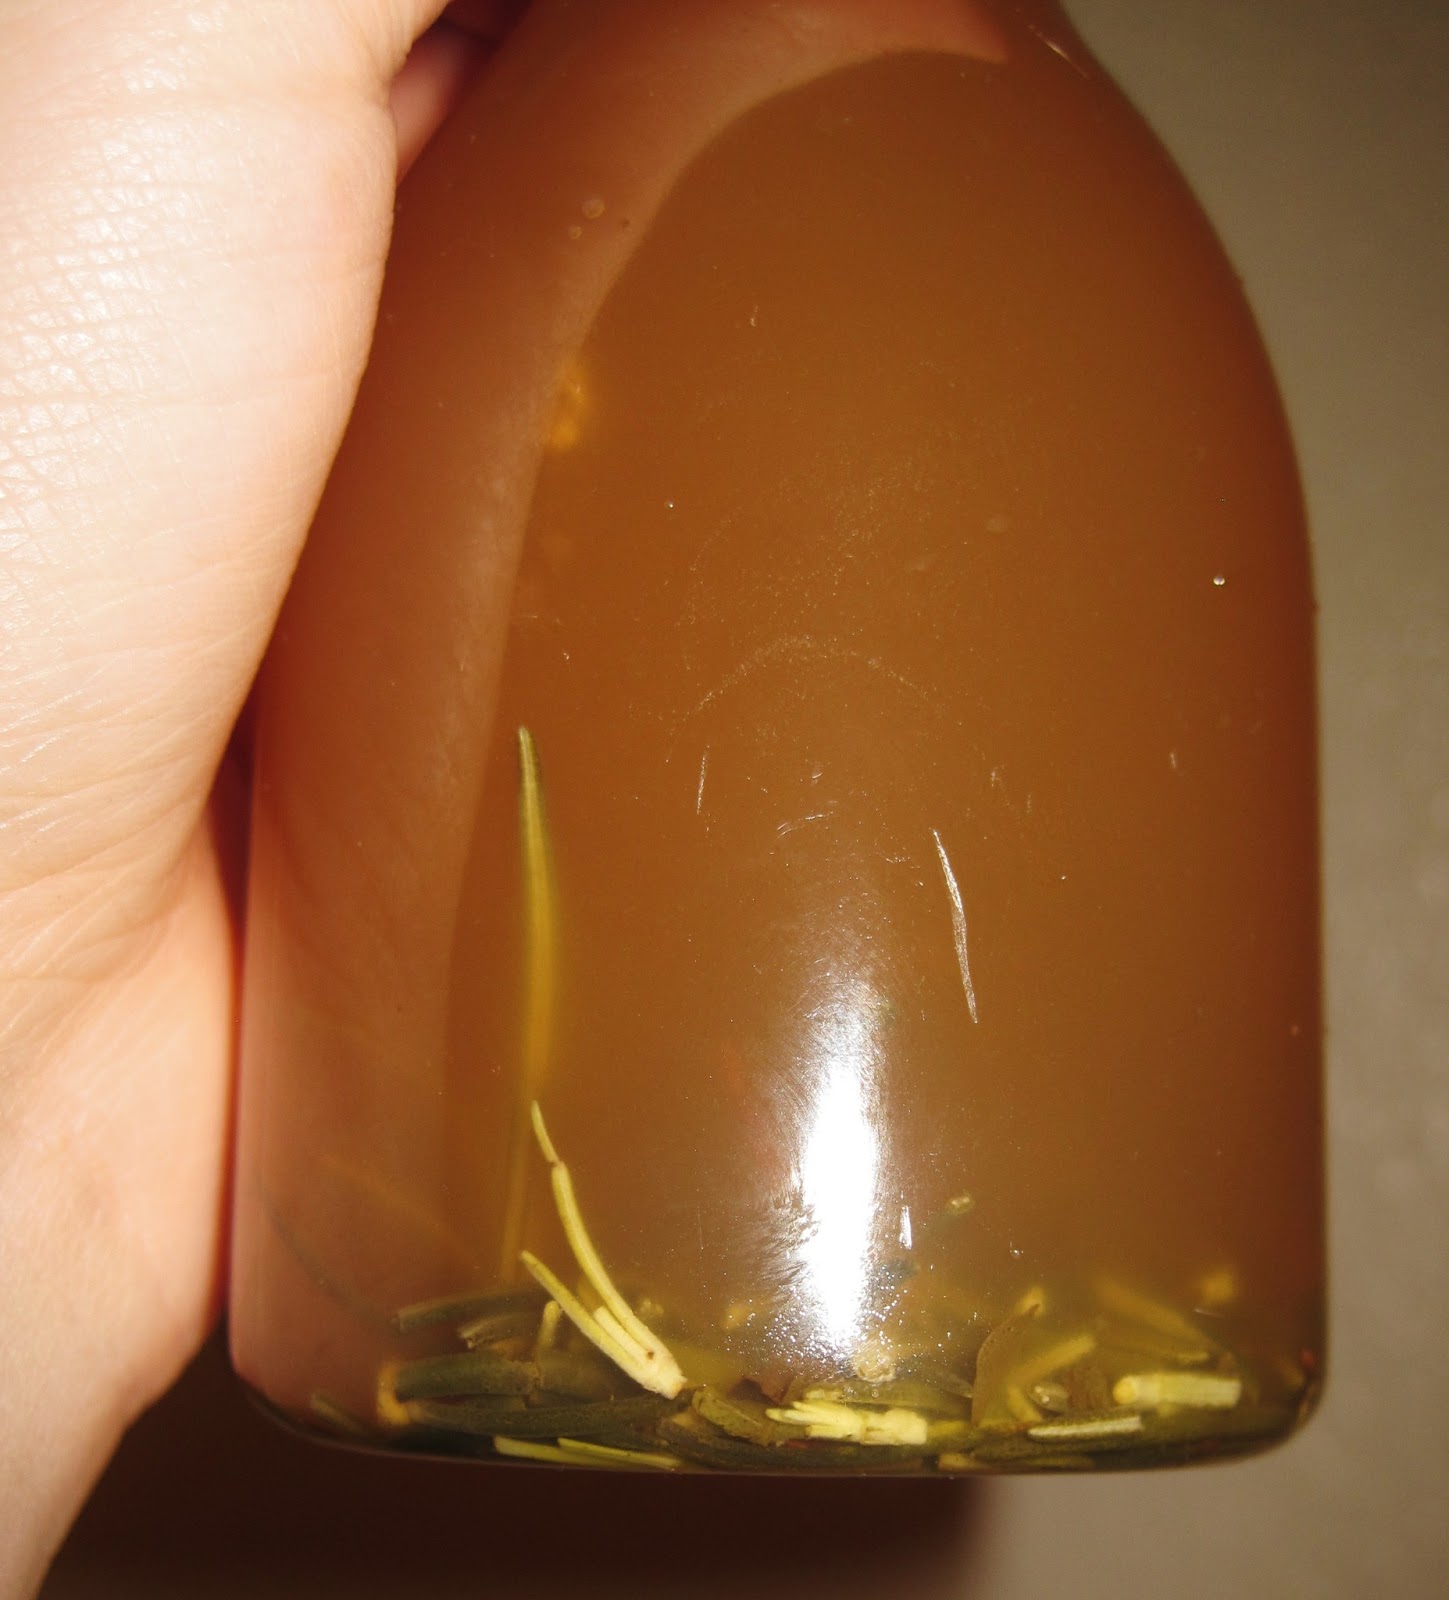
I did henna in my hair again this weekend and this time I tried adding hibiscus to the mix! I bought some dried hibiscus leaves and put them in a jar with 2 parts boiling water and 1 part vinegar. I sealed the jar and let the leaves infuse for about 3 weeks. The results was an extremely potent infusion of deep, deep red hibiscus tea.

I added that to my henna mix and did the rest as usual. It turned out AMAZING!! The color is much more vivid and much redder than it's ever been before. I love it!

I'd like to try hibiscus powder next time and see how it compares to using a super-strong tea mix.


Thursday, May 16, 2013

Perfected DIY Conditioner Recipe


Okay so after over a month of playing with methodology and recipes and the like, I've FINALLY discovered the (almost) perfect way to make an all natural, homemade, great conditioner that you can use just like the store-bought stuff! Yay!


A friend was kind enough to give me some of his xanthan gum and I tried it out as an emulsifyer. It worked beautifully and I managed to find the right ratio of water to oil.

Here's how I do it.

You need an oil in your conditioner to help moisturize your hair and keep it soft. For this  you could technically use any oil but I love using my homemade oil conditioner as my oil base.

*NOTE: IF you use the homemade oil conditioner, which has vit. e oil, tea tree oil, and coconut oil (all natural preservatives) then this recipe will keep for several weeks outside of the fridge. If you are using almond oil or something else as your oil then you should consider adding a preservative to keep your mix from spoiling (gross!)

You will also want to have:
Xanthan gum
Filtered water (or boiled water - just be sure there are no hard minerals)
Green tea leaves

Step 1 - Making tea
You could use plain water if you want but green tea has so many benefits, especially for your scalp, that I decided to use it in my conditioner. I just steeped the tea in the water while I got the rest of my stuff ready!


Step 2 - Mixing the oil and the tea
You HAVE to mix everything before you add the xanthan gum so your next step. If you use the measuring system I use for my homemade oil conditioner solution then I would put 1 vial-full for every 1/2 cup of water you use. That's the equivalent to about 1tsp of oil for every cup of water. Mix them together and you're ready for step-3!


Step 3 - Xanthan Gum
Okay so once you have your oil and water (or tea) mixture put together it's time to use the emulsifier. You could try and use a plain old whisk for this but I highly recommend an electric one because, as my friend and I discovered, xanthan gum works VERY quickly and it is VERY potent.

So! For about 4 cups of water I would only use 2 - 3 tsp of xanthan gum. Not even kidding -- it takes that little.


Also, since it works VERY fast, make sure you have the blender running while you add it! You may have to add a little more to make up for the clumps that occur during the blending process.


Step 4 - Getting rid of clumps!
If you get clumps like I do then you should probably strain your mixture so you are rubbing concentrated clumps of xanthan gum in your hair. Thankfully this step is easy.

Sorry for the glare...

Step 5 - Bottle and enjoy!

:-)

Thursday, April 11, 2013

DIY Conditioner Recipe

I LOVE conditioners but I still haven't perfected my recipes. However, a friend and I got rather close to at least getting something close to an easy to use conditioner.

Don't get me wrong. The other conditioner recipes I have up on this blog are SUPER wonderful. But they are deep conditioners that are messy and require intense shampooing and ACV vinegar rinses after use. I want an amazing DIY conditioner that I can use AFTER shampooing without much worry of an oily scalp.

Here's the recipe we used!

INGREDIENTS
4oz coconut oil infused with sage, thyme, and rosemary
2oz apricot oil
1oz vegetable glycerin (honey would work too)
1 tbsp olive oil
2 tsp vitamin E oil
10 drops of tea tree oil
5 drops of peppermint oil

TOOLS
Wire strainer
Cheesecloth
Small pan
Bowl
Whisk and/or spoon
Bottles for storage
Applicator bottle

Now, if you've ever used DIY conditioners then I bet you're thinking jeeze that's ALL oils!!!

We didn't have emulsifiers and water-oil blends spark bacteria REALLY quickly. So in order to avoid that we decided to follow a different method.

The oils are all stored in a (dark) glass bottles with a a drip bottle. We drip a small amount of oil into another applicator bottle with a nice spout and then fill it with warm water and shake well before applying.

Here's the step-by-step process for making it!!

STEP 1 - Infusing the coconut oil with the herbs!
We used a hot infusion method (stove-top) because we didn't plan ahead much. We put the oil on the heat (low) and then added the herbs. We let them steep in the warm/hot oil for about 45 minutes and then let it cool slightly.


STEP 2 - Strain the herbs
Straining the herbs was a little trickier than usual because of the sage. Sage has very small leaves so many of them slipped through the wire strainer. In order to catch the extra little sage leaves, line the wire strainer with cheesecloth.
Bad lighting.. sorry!
The resulting coconut oil should be nice and green (instead of the usual clear) thanks to the herbal infusion.


STEP 3 - Blend in the other oils and the glycerin
Now you just add the olive oil and apricot seed oil. My friend also added some sweet almond oil to hers but I avoided it because of allergies.


STEP 4 - Add your essential oils (EOs)!
You don't need to add the exact ones we did. Tea tree and mint are nice for your scalp but you can add others if you'd like.


HOW TO USE
Put your oil mixture in a clean and DRY glass bottle. Preferably a dark glass one. Too much light exposure can mess up the potency of the EOs.

Before showering, put about a teaspoon's worth of conditioner into your applicator bottle and then fill the rest with water. Depending on how big your bottle is you may need more or less oil. Just do a trial run first and then determine the ideal oil:water ratio.

You can use this after shampooing and it works great in conjunction with my vinegar hair rinse!

Enjoy! :-)


Sunday, April 7, 2013

Coconut Conditioning Treatment

I love coconut oil and I have recently discovered coconut milk as well! Put them together and you have not only an amazing conditioning treatment but also the best smelling DIY beauty product ever!!


My recipe is very simple. Really I just mix the two together.

- Coconut oil
- Coconut milk (make sure you get unsweetened!!)


You can make your own coconut milk if you'd like but I have not attempted that yet. As soon as I do though I will share my experience and give a step-by-step guide of what to do (and not to do.)

STEP 1 - Coconut oil!
I always put in my oil first because then I can slowly add the milk and blend it as I go. This gets you a much smoother blend. I really recommend that you leave the coconut oil room temperature. Don't melt it down because when you blend the milk it will thin the mix. Having everything already at room temperature will let you know how firm or fluid your mix will be at room temperature. If you melt the oil then it will be harder to gauge how thick the end result will be.


STEP 2 - Milk!
Slowly add the coconut milk and blend as you add. If your coconut milk is chilled then make sure you let it reach room temperature (or put it in the microwave for a few seconds) so that it doesn't harden the oil.


Step 3 - Blend together
I use a whisk because I feel that it blends everything together better. Remember that coconut milk has water in it (if you look at the ingredients it should have water, coconut, and guar gum*) so you have to battle the oil/water separation.
*Speaking of guar gum... that is one reason why making it homemade is better. Cuts out unnecessary things.


Step 4 - Bottle and keep in the fridge
Your mix should last you a few weeks if kept in the fridge. Since its so easy to make, I tend to do this in small bi-weekly batches. I keep my extra coconut milk in the freezer so it lasts longer. Make sure you shake well before you use this on your hair. It WILL separate unless you can find an emulsifier to use in it.


This can be applied to wet or dry hair. If you add honey or vegetable glycerin then be sure to only apply it to wet hair. Otherwise though I recommend you apply it to dry hair and let it sit for a while. I tried putting it on wet hair and it got very runny.

Enjoy! :-)


Sunday, March 31, 2013

Rosemary Infused Olive Oil

Olive oil is used in MANY things. From deep conditioning treatments, to body scrubs, to soaps. Rosemary is not only aromatic but it also helps your skin and hair. Rosemary can help to stimulate hair growth and increase blood circulation in your skin. So why not infuse your olive oil with rosemary and use THAT in your products?


Rosemary infused olive oil is actually very easy to make. All you need is:
- Olive oil
- Rosemary
- Pot
- Glass bottle/jar for storage
- Spoon
- (You may also want a funnel if you're using a bottle for storage)


Step 1 -- heat your oil. Do NOT make it very hot. You aren't trying to make deep fat fried rosemary here! Just warm enough so that you can touch it but if you left your finger in too long then it would start to burn. Probably about 105 - 110 F is good.

Step 2 -- chop your rosemary. Don't chop it TOO fine because then you'll get little rosemary chunks in your oil that are hard to remove.

Step 3 - add your rosemary to the oil and stir it well. Let it sit on the heat for a minute or two and then move it from the heat.

Step 4 - after about 5 minutes of steeping, add the oil AND the rosemary to your container. You could use it right away but it's better if you let it infuse for a day or two.


Use it in your soaps, on your hair, and on your skin!
Enjoy! :-)


The Importance of Natural Beauty

When breaking into natural beauty you are often confronted with questions and statements of doubt. Some of these are from peers but a lot of them are also in your own head. Stuff like:

 "Why not save money and just buy the generic XYZ?"

 "Commercial products haven't really been shown to cause major issues, right? Why not be easier on yourself and use those?"

 "That takes so much time... why not just buy it?" 

"I just feel like the commercial stuff works better for me..."

 And so on and so forth.
Here are my answers to some of those.

 As for the money issue. Yes, in SOME cases it will be a higher initial investment that just buying the cheap shit at Wal-Mart. HOWEVER!!

- If you use extremely high-end salong quality products then going DIY will save you a ton of money. I calculated that making my own conditioner cost about 18 cents an ounce whereas salon quality conditioner could be as much as $2 an ounce. What the hell, right!?

- Sometimes DIY is actually cheaper even than the generic brands. Using the 97cent baby oil and baby shampoo travel bottles and using a little old conditioner to make a DIY shaving gel? You can get months of gel for just a $2!

- It's a lifelong investment. Yeah it may be a little more money now, but think of the money you'll save when you have kids or get older and have avoided all those expensive health issues that come from chemicals? 

That brings me to the next issue. Health. A lot of people try and say that commercial, chemical filled products are usually safe and don't cause issues. Here's the thing though. They don't cause any super OBVIOUS issues like rashes or hair falling out. But they have been linked to various health issues.

 Don't believe me? Here are just a few sources for proof. And I only use reliable sources, mind you. No opinion blogs or anything.

Hair dye could cause cancer.

More facts about things like hair straighteners and UV nail lights.

A list of toxic and harmful ingredients and why you should avoid them.

Things that may be in your shampoo that could mess you up bad.

These are only a few of the more definite things. Also, think about this: There is currently an allergy epidemic in the world. More and more people are getting allergies as well as chronic issues like asthma. Some doctors have attributed this to more exposure to chemicals both in the environment and in the products we use and consume. I myself have severe allergies as so my brothers and many of my friends. I would like to limit my own exposure to iffy chemicals so that I decrease the risk of my children having such issues. If you're expecting a baby in your future (EVEN IF YOU'RE THE DAD!) then remember that what you use on your skin matters! A lot of stuff is absorbed through your skin and as a result absorbed by your growing little one (or your sperm even.)

So we know why it's economically better and why it's crucial for your health. But what about time? DIY takes time right? This is the one question that shouldn't be too hard though. If you're like me then you love crafty things like this and it will become a fun hobby. If that's the case then who cares about the time!? :-)

If you enjoy it then it shouldn't be a huge concern. But if you AREN'T the DIY crafty person, or if you simply don't have the time to devote, then fear not! You don't have to do it all DIY in order for it to be natural. You can also buy organic and all natural products from your health food store or online. Just check the ingredients first!! Also, check places like Etsy for smaller companies that sell homemade products.

Last but not least -- the argument that "natural products just don't do it for me."
Okay so... I'm sorry but this is the lamest excuse I've ever heard. It makes me mad when people say this. Your hair and your body is natural. How can your hair or skin just magically NEED commercial products with chemicals? How did people ever manage without chemicals back before the 20th century? Huh?

The thing about most of the people who say this is that they have never even given natural alternatives a shot. They just assume that the chemical versions are better. Or, if they have tried natural alternatives then they likely didn't give it much of a shot. As my last all-text post stated -- you have to have patience in natural beauty. If your body is used to the commercial chemical products then it will likely take AT LEAST a week before your body can adjust and regulate. It's like when you've had a bunch of fatty, sugary foods and you get a breakout. Even if you start eating well again, the breakout will take a while to go away. You can't switch to natural products overnight.

Another thing to keep in mind -- just as with commercial products, you have to play around until you find what suits you. Say your friend LOVES using coconut oil facial scrubs but it just made your skin worse. That doesn't mean "natural products don't work for me." That means "coconut oil isn't good for my face." You just try something else. There IS something out that for everyone. Don't let one or two failed attempts make you write off everything natural. Keep trying!

Hopefully I've helped convinced you to try all natural alternatives. Or, if you're already an all-natural junkie then hopefully these facts and tid-bits have helped you think of responses to some of the questions your peers and family may ask you.

Thanks for reading! :-)


Sunday, March 24, 2013

Rosemary and Apple Cider Vinegar Rinse

I LOVE doing vinegar rinses on my hair. They make my hair feel clean but not stripped as well as soft and smooth. Of course you shouldn't overdo them, but if you skip shampoo every few days and need to get rid of excess oil and whatnot then this can be a great thing to use. I also use it after using my coconut oil deep conditioner.


This particular rinse has rosemary and apple cider vinegar. Rosemary has been known to help promote healthy hair growth and even prevent hair loss. Apple cider vinegar is overall amazing for your health. Drink it, put it on your hair, make it one of your top 5 MUST have natural beauty ingredients. If it's RAW and UNFILTERED then it's best. That's when it has all the wonderful nutrients. Otherwise it really isn't THAT much better than other vinegars. Sometimes you will also see "with the mother" as well as/instead of 'raw.'

Look for this sediment in the bottom. That's how you know it's legit raw ACV.

Here's my recipe!

2 - 3 sprigs of rosemary (preferably fresh, but dried is alright)
1 cup of filtered/distilled water
1 cup of RAW and unfiltered apple cider vinegar (from here out called ACV)
1 tbsp Borax (sounds weird but it's just a mineral and really nice to your hair!)

*NOTE: Usually Borax comes in large boxes, far larger than you'll need for this recipe. But don't let that shy you away!! You can use Borax for a TON of other awesome things, and it's usually under $5 a box anyway. It's worth buying!

This is the ACV I got just because it was cheaper. I usually prefer Bragg's but it was about $6 whereas this one was $2.50. I'm a little cheap sometimes... :-(


Aaaand here's Borax:

-----------------------------------------------------------------------------

Step 1 -- Making your rosemary infusion
Put your cup of distilled water in a pan on the stove and set to high heat. Add your rosemary sprigs and bring to a simmer. Cook on low heat for about 3 - 4 minutes and then take off the heat. Let it 'steep' for another 5 - 10 minutes.


Step 2 -- Add your ACV and Borax
After the infusion has set, you can move it to another container. I usually leave at least one sprig os rosemary so any left over essence can infuse with the final mixutre, but that's up to you. Add your ACV and Borax and stir well. I usually put mine in a spray bottle for easier application but go with whatever works for you!


Step 3 -- Applying the vinegar rinse
Some people prefer to do their rinse and then immediately rinse with water. However I recommend letting the rinse sit in your hair for 3 - 5 minutes. Massage it into your scalp and make sure it has reached your roots. That's the place that needs it most! Afterwards just rinse out. You can shampoo and condition over it if you want or you can just rinse super well and let that be your hair wash.

Note: it WILL make your hair smell kind of like a pickle, so if you don't follow it with something else then maybe do one of two things: add some kind of strong but nice smelling essential oil or extract to the rinse to quell the acidic vinegar smell, or have a perfume/cologne/body spray to put on after you shower.

Enjoy! :-)


Tuesday, March 12, 2013

Homemade, All-Natural Coconut Oil Deep Conditioner

Decided to try making my own conditioner after looking at the all-natural conditioners at the store and seeing how expensive they were. I also figured DIY conditioner would be fun!

THE MIX – What I got for my conditioner
- Coconut oil: 1/4 cup
- Vegetable glycerin: 1/8 cup
- Essential oil: 5 - 10 drops depending on the oil you get and how strong you want it
(Eucalyptus in my case because it’s good for your hair and was on sale for $3/bottle! But really tea tree would be better I think.)
- Olive oil: 3 tbsp


I also purchased some Vitamin E oil but then I noticed that it contained Sweet Almond oil and I have allergies… :-( However, I encourage you to add about 2 – 3 tsp of Vit. E oil to my recipe and it will likely make your hair even silkier! I plan on getting non-almond Vit. E oil for my next batch!

NOTE: Since this mixture contains no preservatives I recommend using it all within about three weeks. If you let it sit out too long without preservatives then it will spoil and that will NOT be good for your hair!

TOOLS
- Small mixing bowl
- Whisk (or if you don’t have a whisk and can use chopsticks in the manner then that is fine)
- Bottle to put your conditioner in

----------------------------------------------------------------------------------------------------
STEP 1 – Mix together your olive oil and coconut oil. You could heat up the coconut oil but I felt that the consistency of the conditioner is better when you put it in thick and then whisk it smooth.


STEP 2 – Add yhour essential oil(s) and blend well. If you have any other oils (jojoba, argan, almond, vit. E oil, etc.) then add those now.

STEP 3 – Blend in the glycerin. It should go in smoothly.


STEP 4 – Add to your bottle and let sit.


TO USE: Put about a dime to quarter sized amount in your hands and run them through your hair. Let it sit for about 5 – 10 mins. at least. I usually put mine in my hair and  let it sit for about 30 mins before showering. Then I use my rosemary and apple cider vinegar rinse with it! I will often then shampoo and conditioner the tips as normal.

I used to apply this to dry hair but then I learned that glycerin is a humectant. Humectants help to retain moisture in whatever they are applied to. If you apply glycerin to dry hair then it has no moisture and can conversely end up drying out your hair, which defeats the purpose of the oils. So for that reason, make sure you wet your hair before using this conditioner mix.

Hopefully this will leave your hair soft and shiny!! Enjoy! :-)


Monday, March 11, 2013

Single Ingredient DIY Hair-Care Products

While blends of oils, crazy concoctions, and all that fun stuff can be beneficial for your hair, you can also get beautiful results with single ingredient rinses and conditioners.

- Olive Oil Conditioner: comb olive oil through your hair. It will look like you haven't washed your hair in weeks so obviously make sure you do this before showering. :-P Massage it into your scalp and run a wide-tooth comb through your hair so it gets evenly distributed. Let it sit on your hair for about 15 - 30 mins and then shower as usual. This will heal your hair and leave it silky smooth.

- Honey-dipped tips: honey does wonders for hair and skin. I never do my entire hair with honey because I just have too much hair and it would not only be expensive but also messy and sticky and gross. So I just do the tips and, when I'm feeling messy, the roots as well. Get your tips (and roots, if you're doing those too) wet with warm water and massage honey into the hair. Let the honey sit for 15 - 45 mins and then shower as normal. It will make your tips feel less frizzy and, if done to the roots as well, promote a healthy scalp.

- Vinegar rinse: if you've already read my henna post then you're familiar with vinegar rinses. Vinegar rinses help to strip your hair of unwanted build-up of chemicals and minerals. Any hair products, including conditioners, can leave minuscule layers of build-up on your hair. Also, if you live in a city with hard water like I do, then you will also have mineral build-up on your hair from the water. Mixing vinegar with equal amounts of warm water and running it over your hair will help clean your hair of this unwanted gunk. Run the rinse over your hair (preferably after you've shampooed it) and let it sit for about 5 mins.

- Beer rinse: yes, that's right, beer. It can make your hair super soft and silky. I can't tell you the science behind this, but I assume it's a combination of the alcohol and the hops/barley make-up of beer. Just grab a can of beer, pour it over your head, let it sit for a few mins, and then rinse it.
Downside to beer rinses: if you don't use perfume or a strong smelling something afterwards, then you smell like an alcoholic. So either be sure to have something to cover the smell or do this on a day you don't have work or anything special planned. If I do this again I'll likely try putting essential oils in the beer to maybe cut the alcohol odor.

- Rosemary infusion rinse: rosemary is known for it's benefits, especially for hair. Rosemary essential oils and infusions can help promote healthy hair growth and can even help delay the onset of hair loss. You can add rosemary essential oils for your conditioners and other rinses, but if you have room outside in your garden, maybe grow a rosemary bush! Fresh rosemary is easy to grow and a much cheaper alternative to buying fresh rosemary from the grocer. But however you get rosemary, you'll need several sprigs for this infusion. Bring some distilled water (tap-water may have minerals that build up on your hair) to a boil on the stove and add your rosemary. Steep the rosemary in the lightly boiling water and then remove from heat. While the rosemary continues to steep, pound it with the back of a spoon, a potato masher, whatever. This helps squish the extra rosemary juices out into the water. Let the infusion cool and then strain so that the sprigs and any loose leaves are removed. Then use this rinse just like the vinegar rinse. There won't be any immediate effects, but over time this could really promote healthy hair.

That's all I have for now. I'm going to be experimenting with other oils and rinses soon though so look out for Part II! :-)